
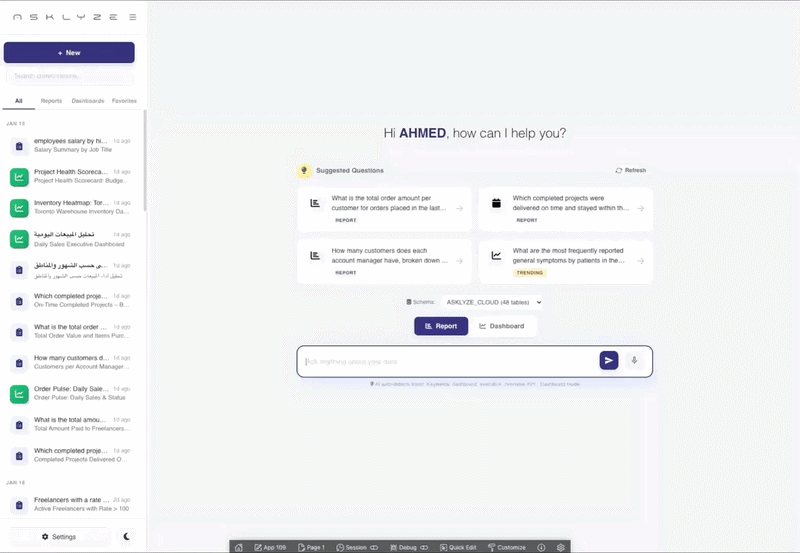
ASKLYZE brings natural-language analytics directly into Oracle APEX, so teams can move from a business question to a working result without exporting data into a separate BI workflow. Once the plug-in is in place, users can ask in plain language and receive SQL-backed answers, reports, and dashboards inside the same application they already use.
This article turns the plug-in setup into a practical onboarding flow. It follows the product's real installation path, but it is organized as a blog guide for teams that want a clean first deployment without guesswork.
Before you start
A smooth installation depends on having the APEX layer, database access, and product credentials ready before you begin.
- An Oracle APEX application where ASKLYZE will be added
- Database permissions to install the required objects
- The ASKLYZE package with database scripts and the APEX plug-in file
- A valid ASKLYZE API key for authentication
Step 1. Install the database layer first
Begin with the SQL objects that support the plug-in. ASKLYZE depends on those objects before the APEX region can operate correctly, so this step comes before anything in the builder.
If you are using SQLcl or SQL*Plus, launch the main installer from inside the database folder so all referenced scripts resolve in the right place. If you prefer APEX SQL Scripts, upload the database files there and execute the same installer through the workspace.
One of the easiest ways to break a clean install is running the main SQL file from the wrong folder context. Keep the database files together and start from the expected location.
Step 2. Import the ASKLYZE plug-in into Oracle APEX
After the database layer is ready, move to Shared Components in the target application and import the ASKLYZE region plug-in. This makes ASKLYZE available as a native region type, which is important because the product is meant to live directly inside your APEX experience.
At this point, the application is prepared to host ASKLYZE on any page where you want conversational analytics and dashboard generation.
Step 3. Add your API key
Open the imported plug-in settings and enter the API key assigned to your ASKLYZE environment. This is what allows the region to authenticate and process user questions through the ASKLYZE service layer.
It is worth validating the key early. If the key is incorrect or missing, the UI may render, but the connection test and AI workflow will fail later.
Step 4. Add ASKLYZE to a page
Create a region on the target page and set its type to the ASKLYZE plug-in. For the best first impression, give the component room to breathe and avoid surrounding it with a crowded page layout.
- Use a simple page template where the analytics region has enough space
- Prefer a minimal region template with as little chrome as possible
- Leave enough width for dashboards, result grids, and charts to render comfortably
Step 5. Run the connection test from the live page
Load the page in the browser and use the built-in connection test to confirm the plug-in is talking to ASKLYZE correctly. This needs to happen from the running page because the front-end connection is established when the region initializes.
If the test does not pass, fix that before moving to data configuration. Early failures usually point to a missing key, an incomplete install, or a page that is not loading the region correctly.
Step 6. Whitelist the data ASKLYZE is allowed to see
Once the connection is healthy, open Data Configuration and explicitly choose the schemas and tables ASKLYZE can work with. This is a core governance step, not just a setup detail.
Strong teams usually start with a narrow set of high-value tables instead of exposing everything at once. That gives the AI better context and makes validation much easier.
- Start with the tables tied to the most important reporting workflow
- Add clear business descriptions where technical names are ambiguous
- Expand the scope after the first workflow is validated by real users
What happens after setup
After installation, ASKLYZE can turn a user question into SQL, execute that query against your Oracle environment, and return the answer inside APEX as a report or dashboard. That is the operational win: faster access to insight without moving production data into another analytics stack.
A smart first rollout
Do not start with the most complex schema in the business. A better launch plan is to pick a single reporting use case, such as sales activity, service operations, or finance summaries, and use it to validate the experience end to end.
That gives you a controlled way to test naming clarity, access boundaries, and dashboard quality before the scope grows.
Final checklist
- Database objects installed successfully
- ASKLYZE plug-in imported into the correct application
- API key saved in plug-in settings
- ASKLYZE region added to a live page
- Connection test passed in the browser
- Allowed schemas and tables selected deliberately
If you want to move faster after the first test, keep the initial scope focused, validate the first dashboards with business stakeholders, and then widen the data boundary in controlled steps.